One Coffee Cup a Day | 30 days, 30 cups
One Cup a Day project is an experiment on creativity and rapid manufacturing,
by ideating, designing, modeling and making available for production and purchase a coffee cup within 24 hours, everyday during one month.

The project was exhibited at the Ceramic Event VII in Brussels.
By the end of each day, a new espresso coffee cup was made be available for sale here.
The cups are printed in Glazed Ceramics by Shapeways & i.Materialsie.


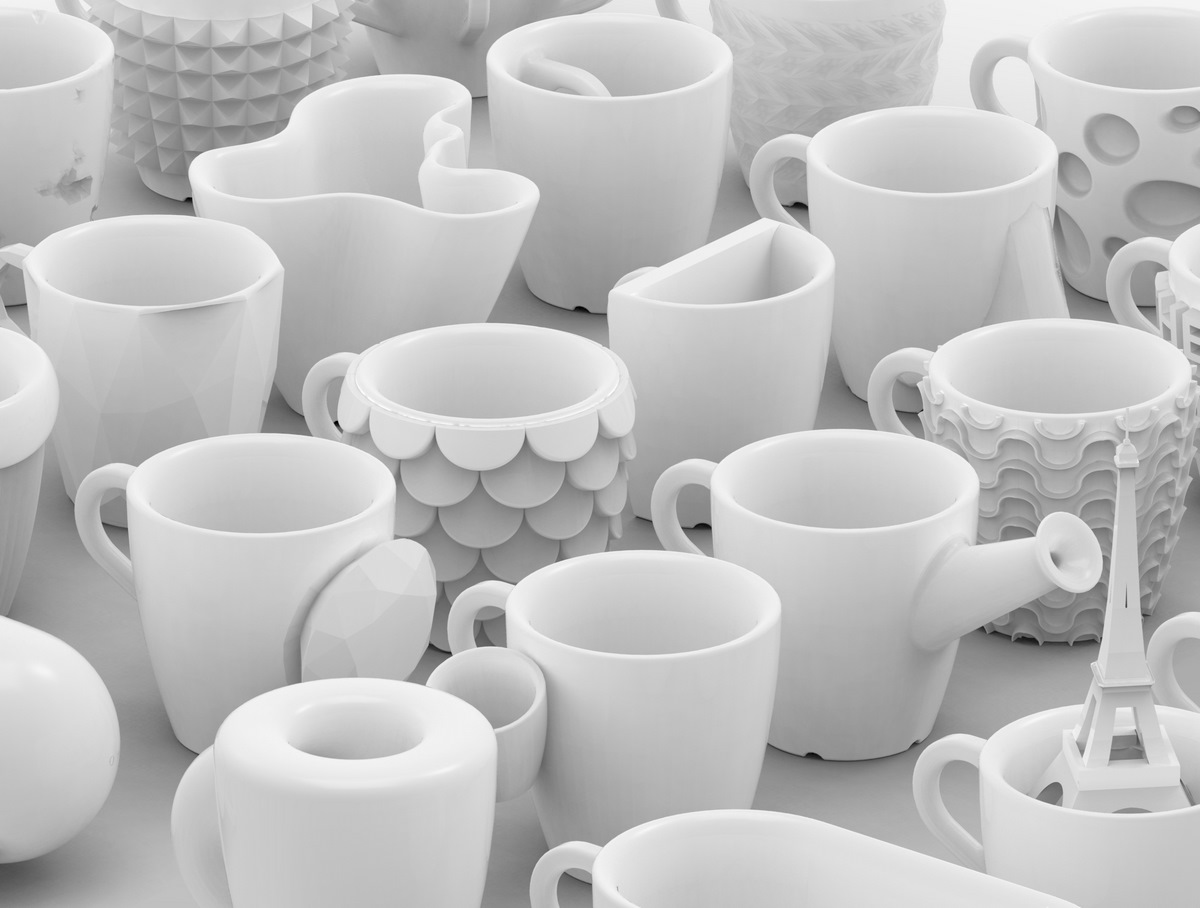
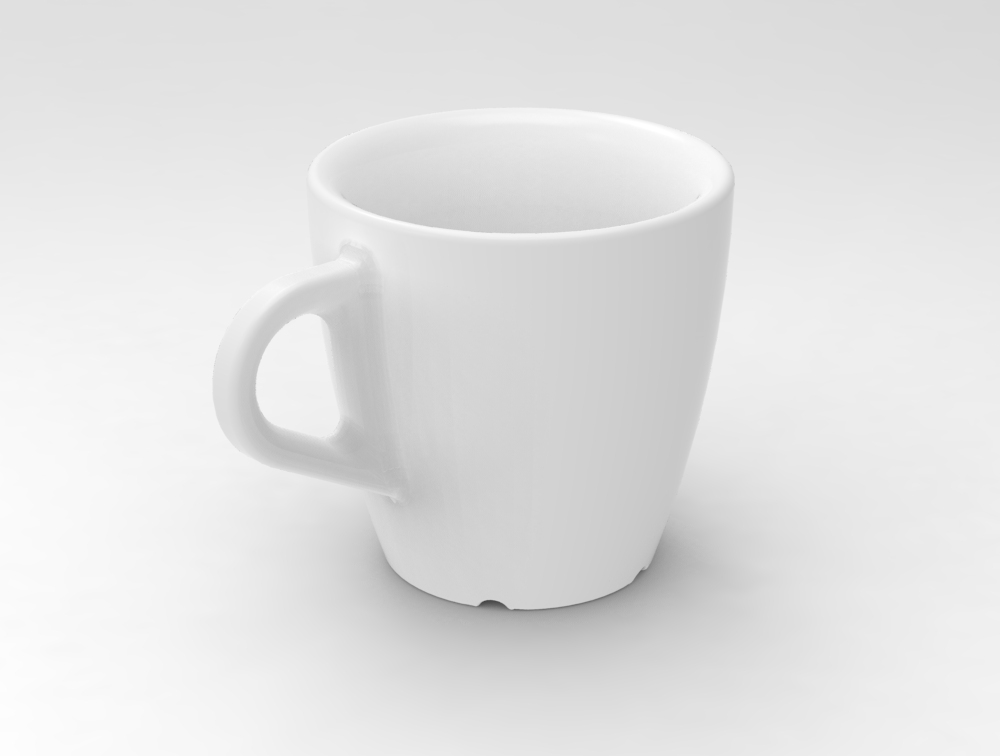
*the following images are computer generated visualizations of the cups, not the actual objects.
As 3D-printing in ceramics is a novel and experimental process, the 3D-printed cups might look different than the images below.


Design one yourself
This project is open for collaboration,
Here I make available the source files (as .STL & .IGS files of a template basic cup,
please, feel free to play around and modify it.
3D Print it yourself
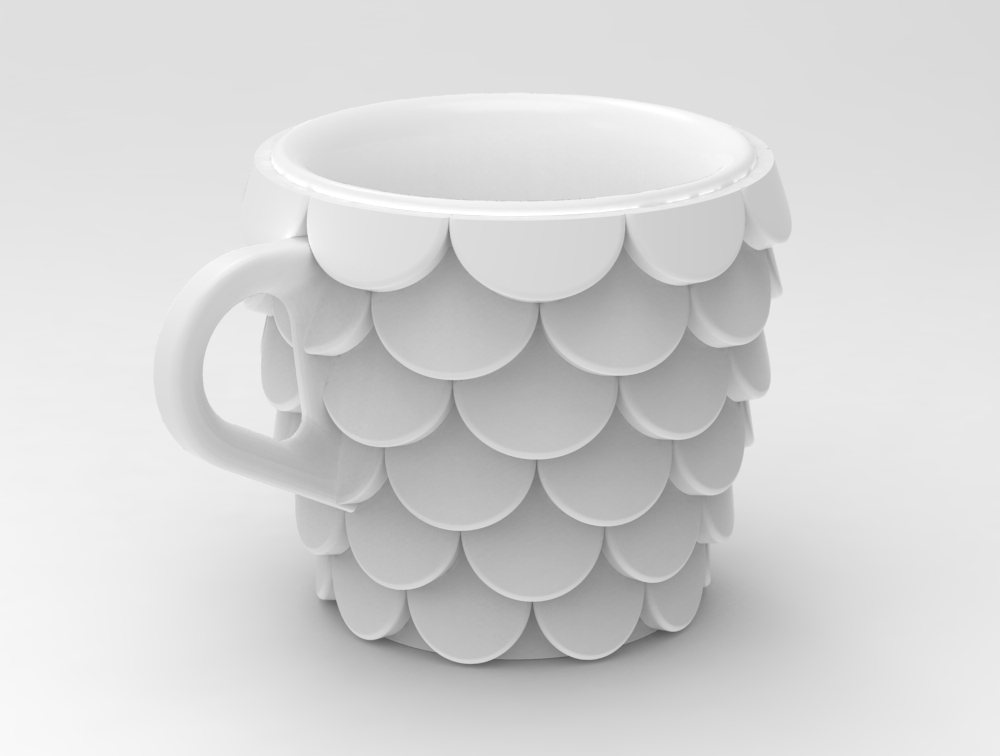
The OctoCup is shared at Thingiverse, feel free to grab the files, experiment with it and share the results.
I printed one with a RepRap and it looks nice, (useless, but nice).
Learnings
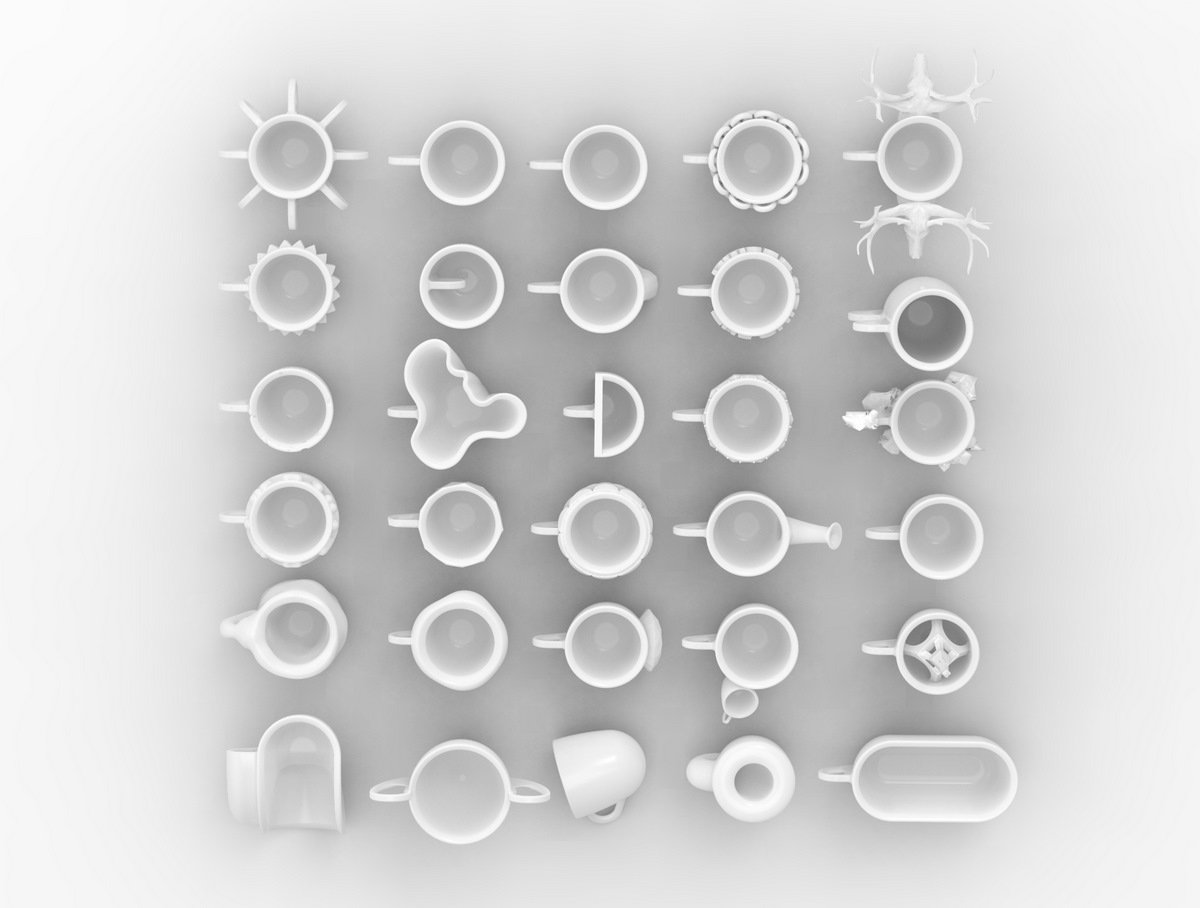
done! I made it; Design 30 cups in 30 days,
They are all at the store, ready to be 3DPrinted on demand.
Surprisingly, the idea generation has been the easiest part of the project,
I still have tons of cup ideas on my head that were not designed: (Banana Handle cup / Toilet cup / Matrioska cup / Melted cup / Mustache cup…)
The hardest part of the project has been preparing the 3D geometries and files for 3DPrinting.
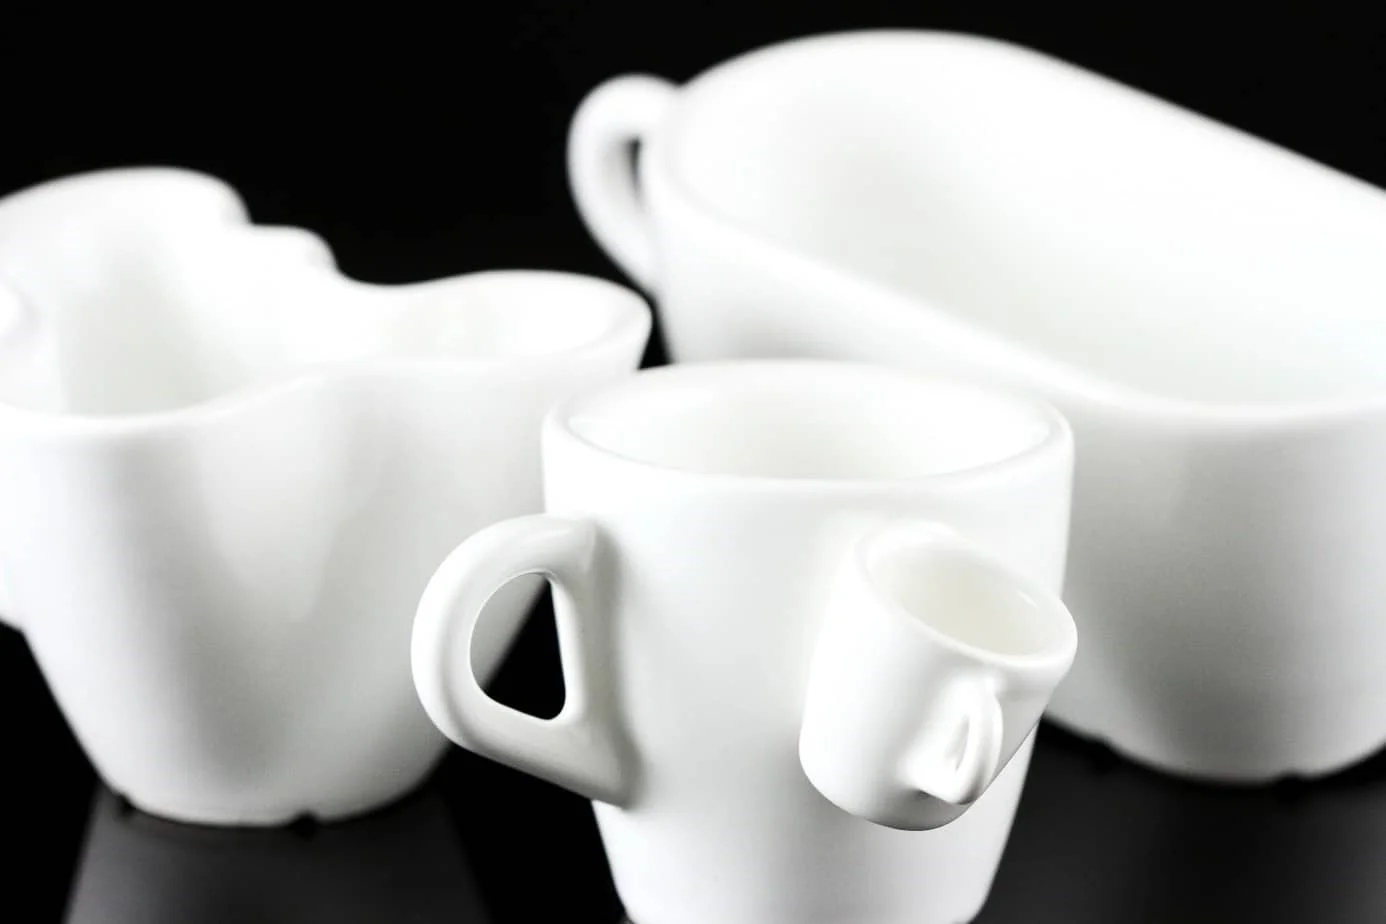
The 30 designs can be grouped into 3 categories
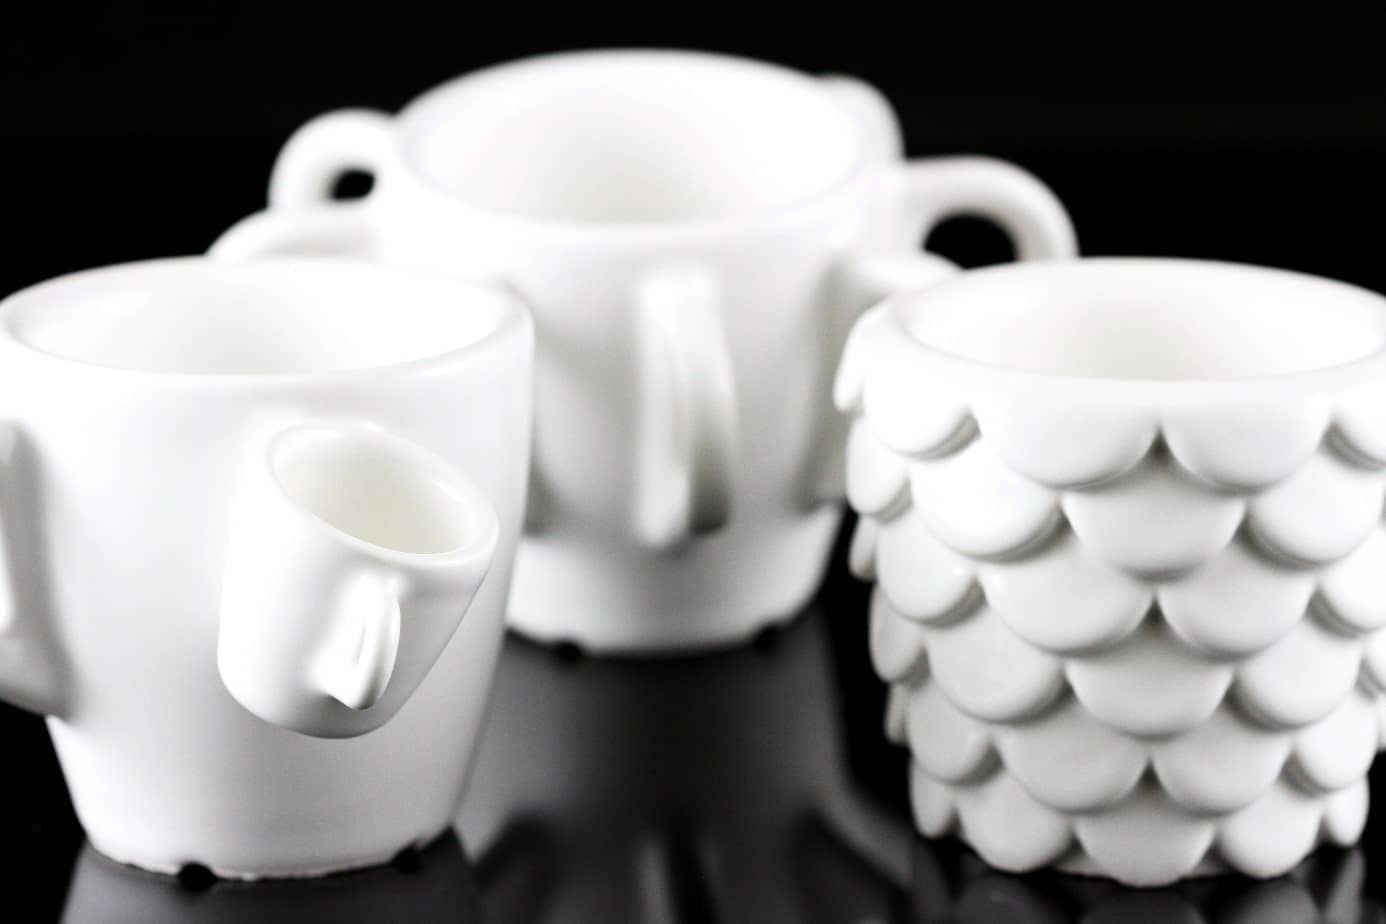
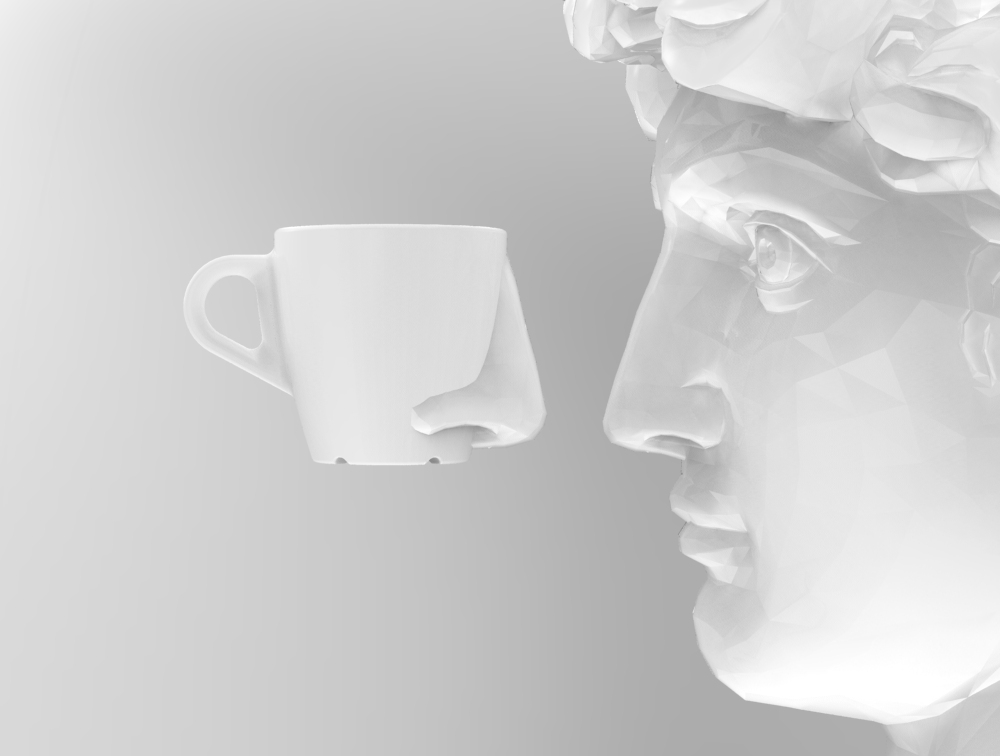
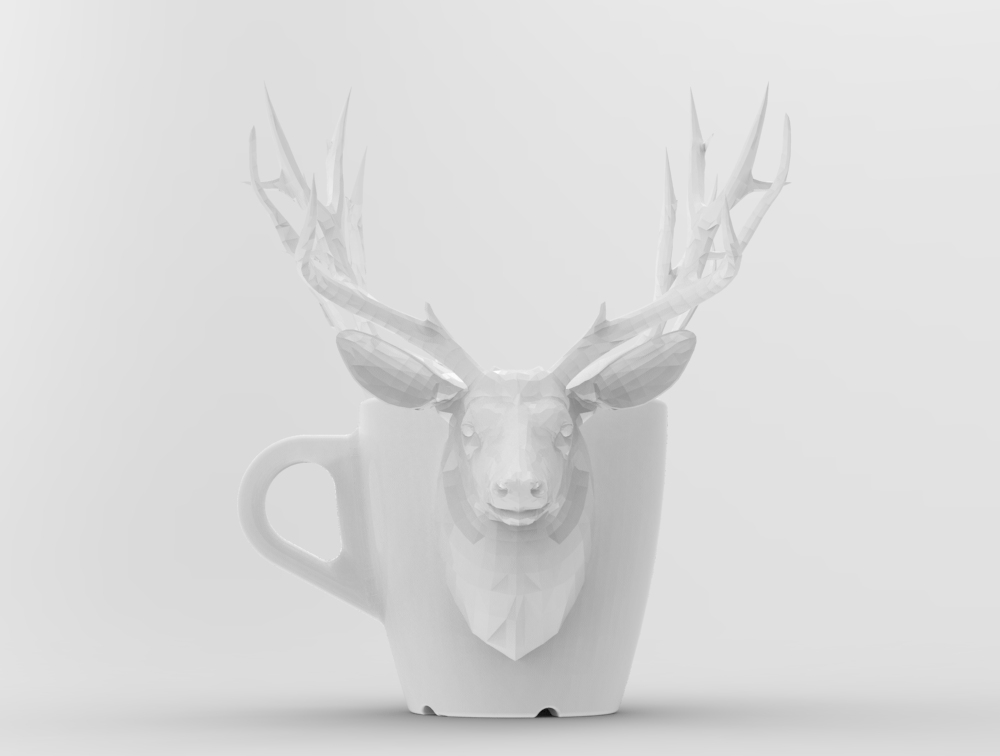
Morpho-jokes = cups adopting shapes from other contexts with a funny result.
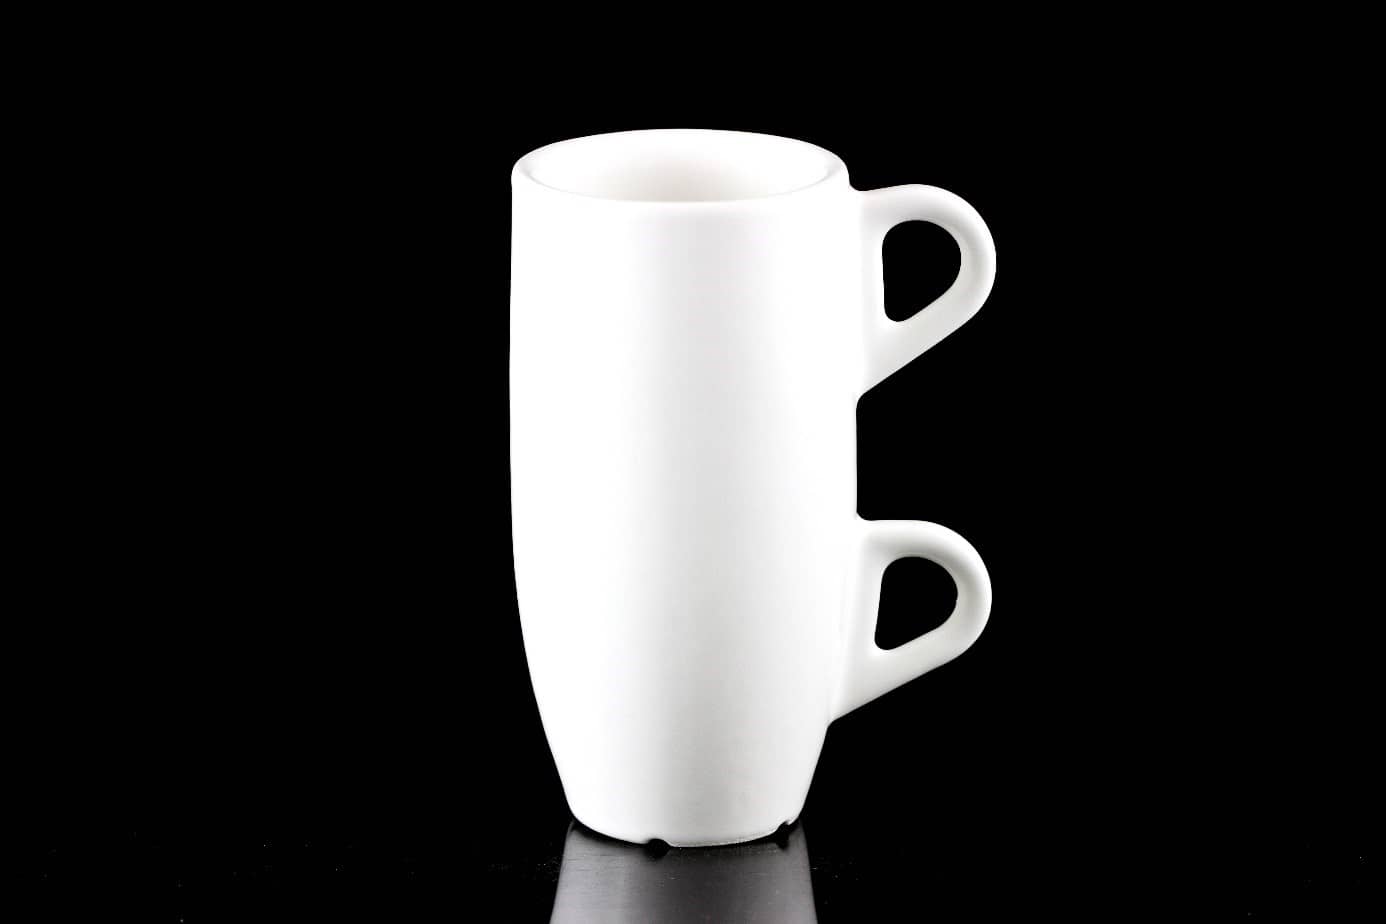
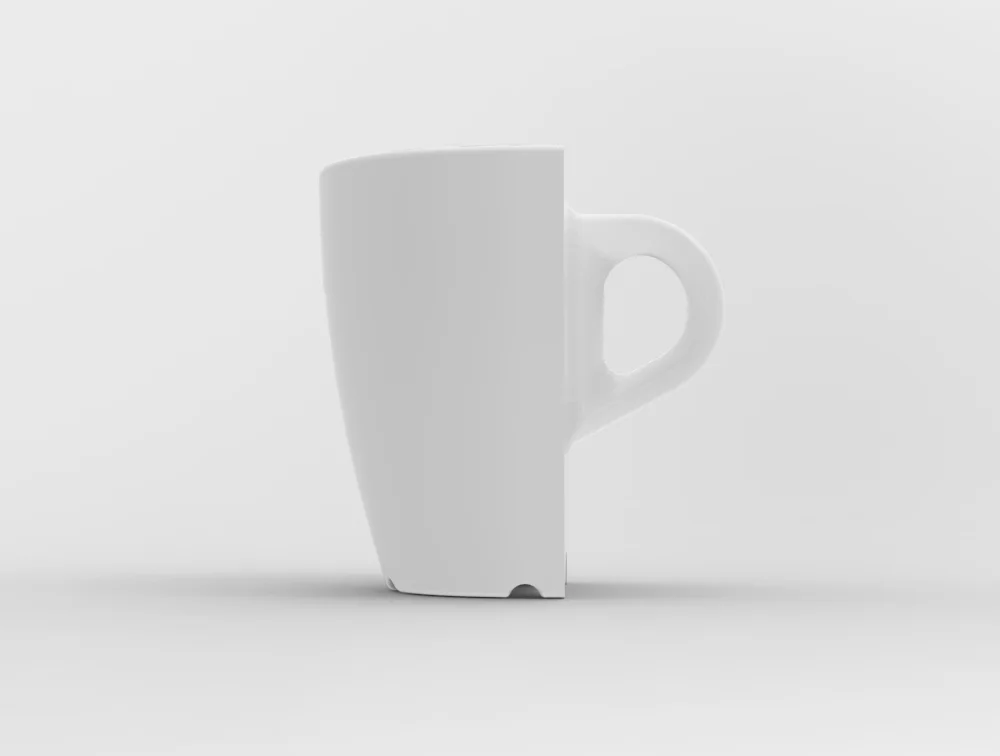
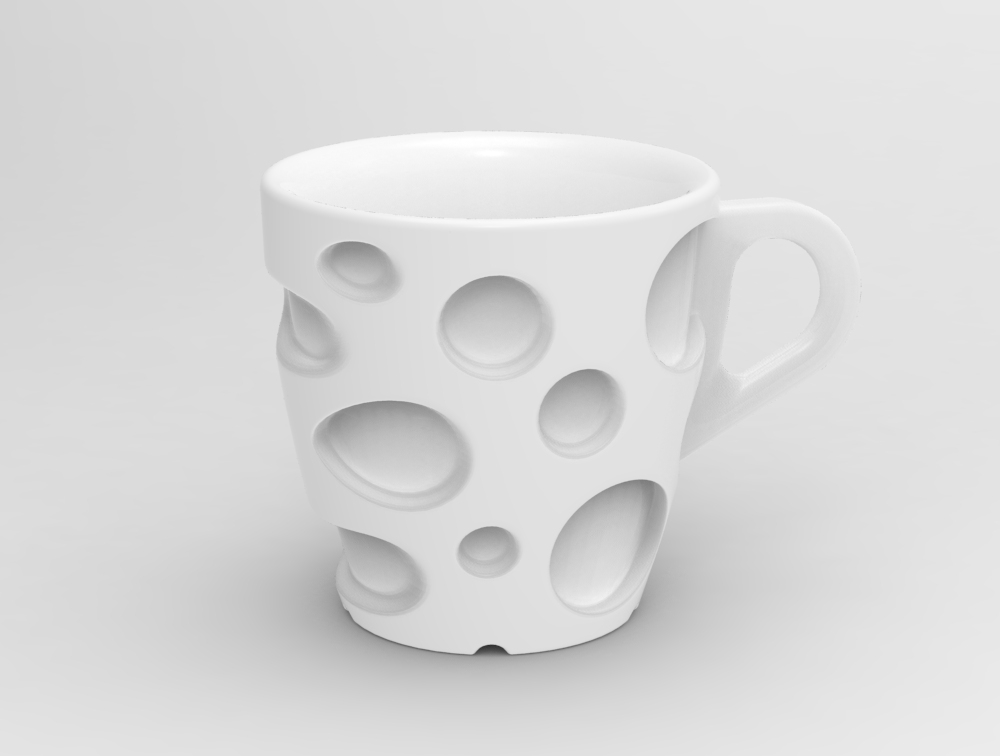
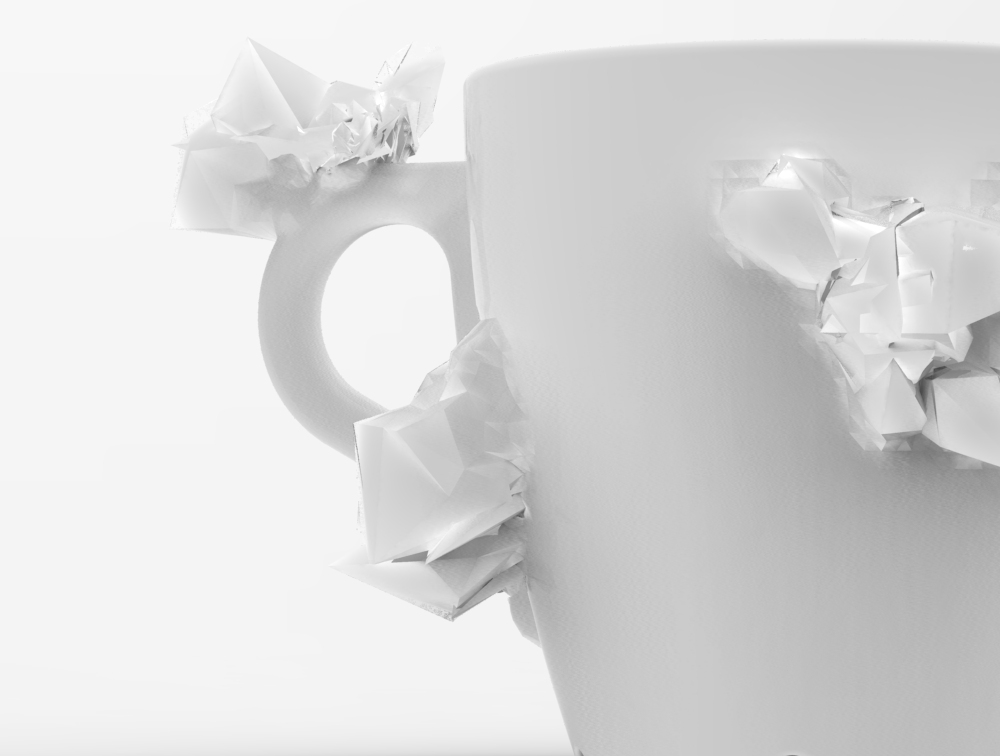
Uselessly nice = cups whose striking uselessness makes them interesting.
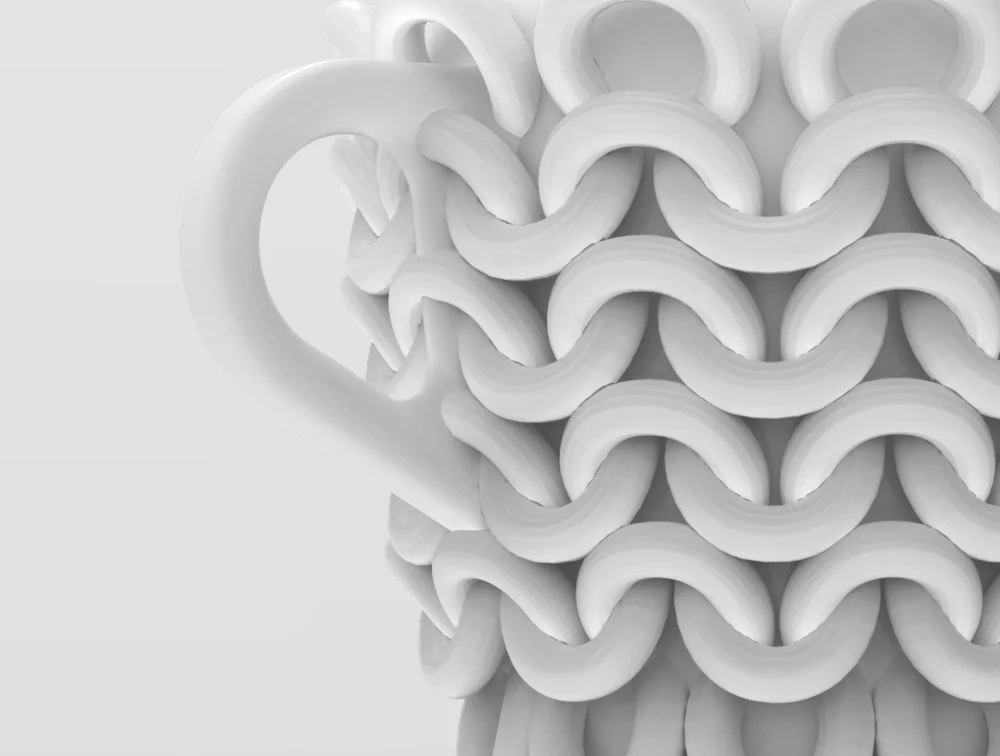
Texture Analogies = cups wrapped by textures.
I really enjoyed the project format, the challenge and the results.
3D Model vs. 3D Print:
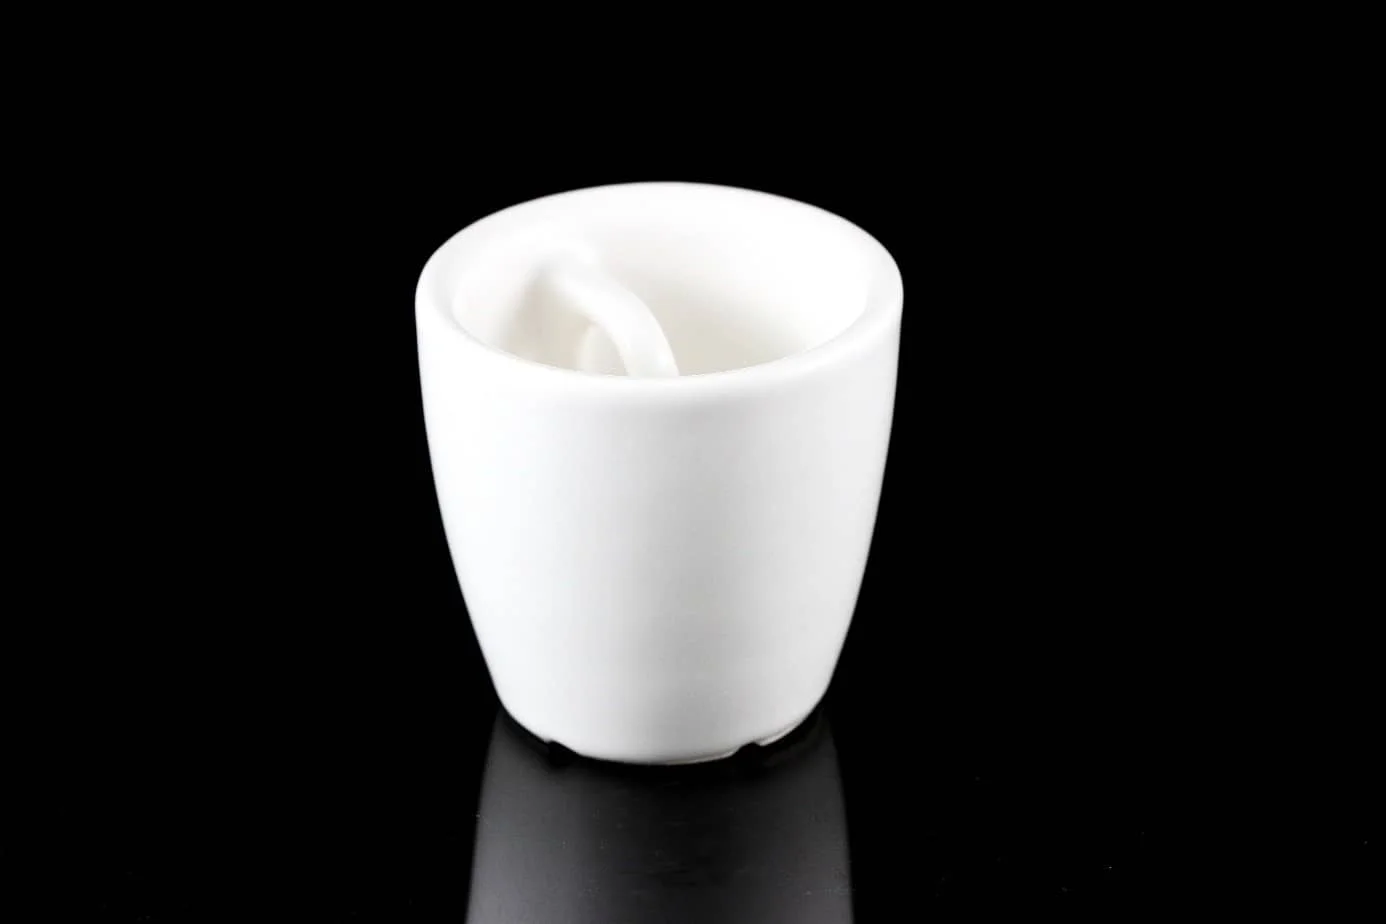
The first 3DPrinted Cup in Ceramics just arrived,
and it looks fantastic!
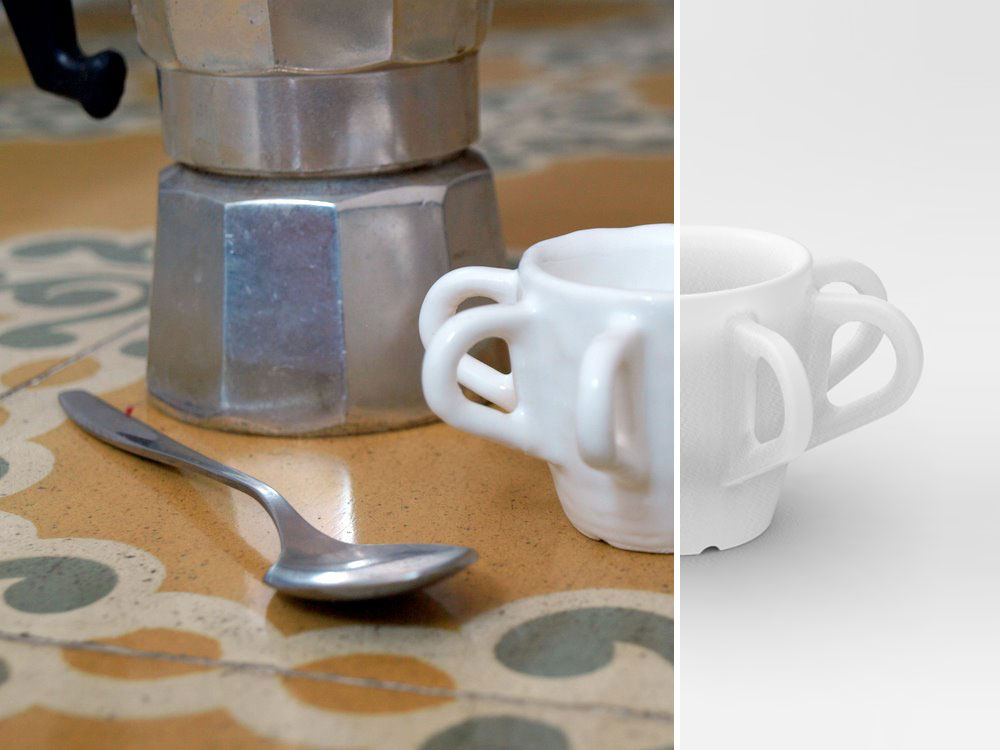
The glazed layer is quite thick and it hides a lot of the original detail, which is OK for the OctoCup, but it might be a bit too soft for other designs, like the Knitted Cup or the LowResolution Cup.
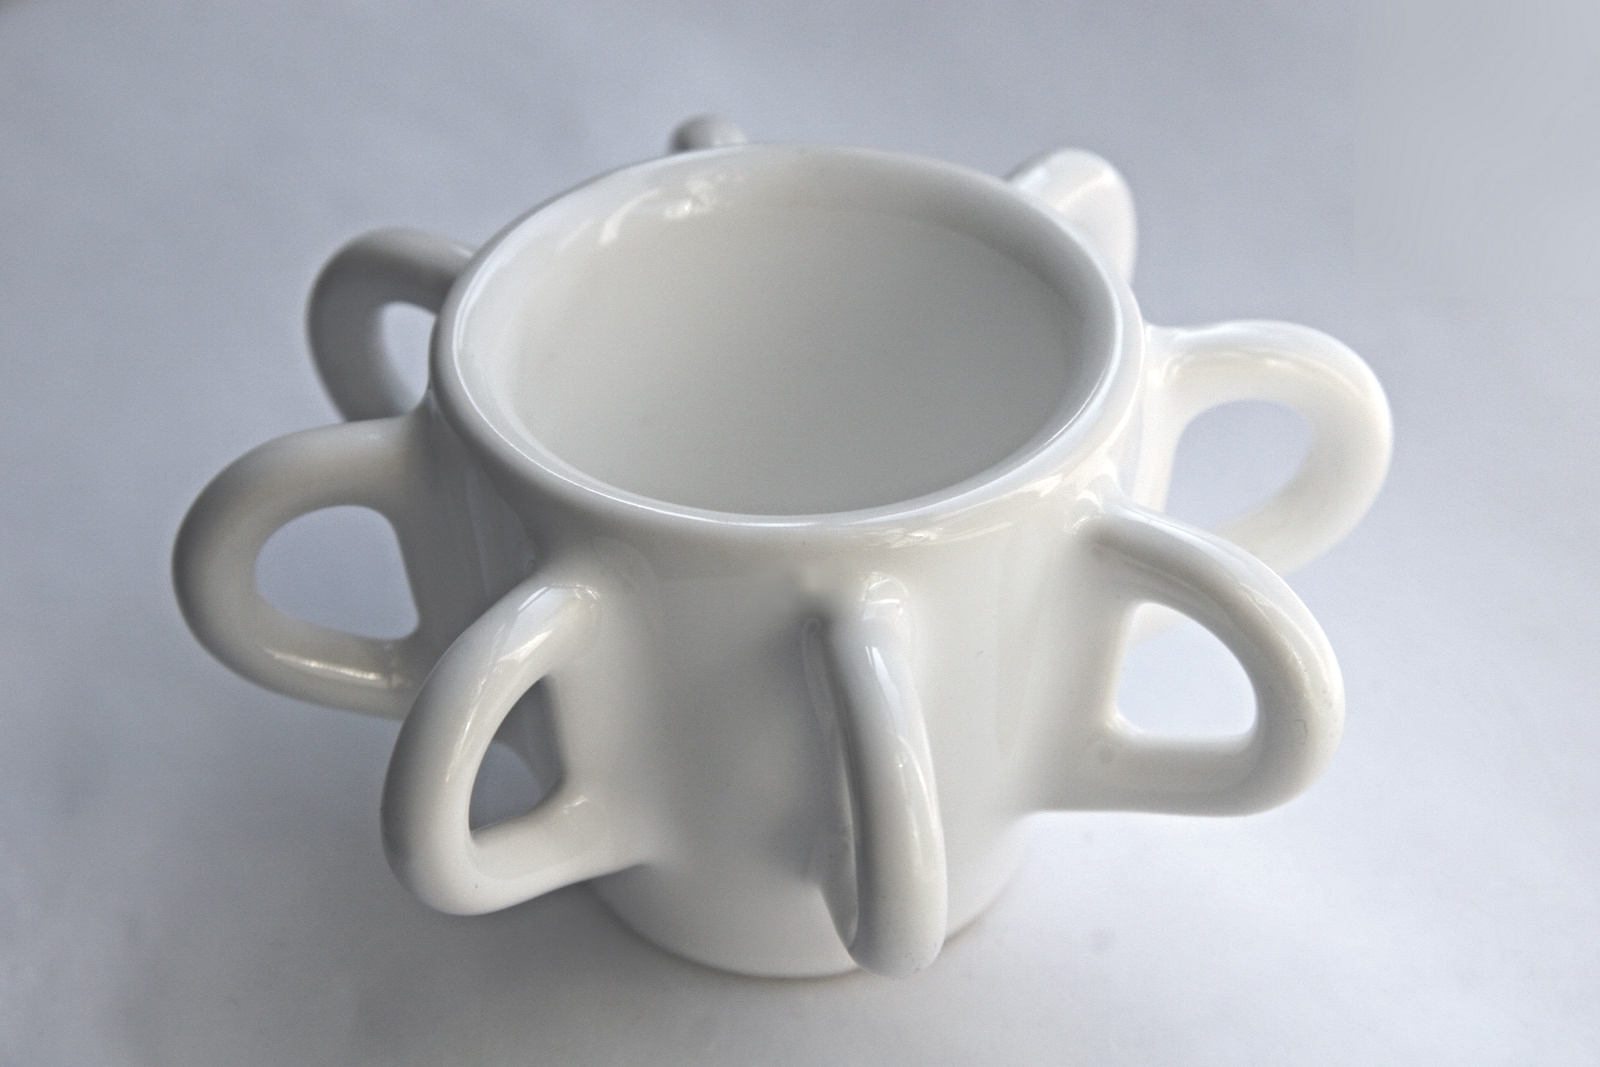
It has an overall look and feel of a hand-made product, which is very interesting, because this object was “untouched by humans” (except for finishing and shipping), meaning that it was designed in computer, with perfect radiusess, and perfect proportions, Then, it was 3DPrinted with a computer controlled machine accuracy, but the result is bumpy and imperfect, and it is nice.
It almost feels like an craft object, but this cup is entirely a computer-born and grown object.
Update: Shapeways improved their 3DPrinting process and the results are much better now.
Notes
About the design:
The cups are designed as a creative exercise and as a proof of concept for digital fabrication, in order to achieve something unthinkable some time ago: Create a product from the idea to the consumer in less than 24 hours.
Some designs are compromised due to time constrains, but that’s OK.
Not all the cups are ment to be the best and most functional of all coffee cups ever, they are designed with style, fun and diversity on mind.
About the material:
The coffee cups are 3D Printed in Glazed Ceramics.
Glazed Ceramics are food safe, recyclable and heat resistant. The glaze is heatable up to 1000 degrees celcius, at which point the glaze will start to damage.
3D Printed Glazed Ceramics material properties are exactly the same as standard ceramics as it is produced with fine ceramic powder which is bound together with binder, fired, glazed with lead-free, non-toxic gloss finish. For some designs with clear bottoms, the bottom side may remain unglazed.
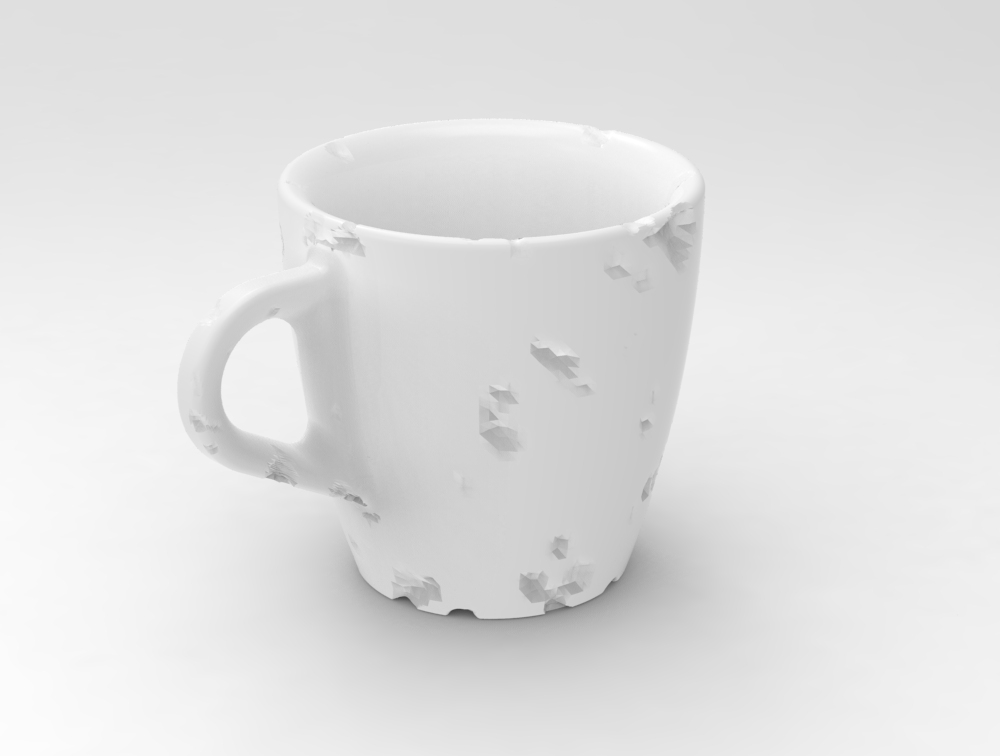
Glazing reduces definition of design details, for example grooves will fill with glaze. up to 1 mm of glaze can be added in certain areas.This means that some cups might look much smoother once printed than how they look on the drawings, keep that in mind if you purchase any of them.
Step 1. 3D Printing, it takes about 4 hrs to print a 4 inch piece. During this step, binder is deposited on a bed of ceramic powder. After one layer is done, a new layer of ceramic powder is spread on top and binder is again deposited on that layer.
Step 2. After all the layers are printed, the box of ceramic powder is then put in an oven to dry, the models in the box solidify during this process.
Step 3. After the models solidify, the models are taken out out of the box and depowdered. During this stage, the models are solid but in a brittle, fragile state.
Step 4. Afterwards, the models are fired in a kilm with a “high fire.” This firing will lock in the structure of the model. After this step, a base model is created. The surface finish is very rough.
Step 5. Pre-glaze coating spray, a water based spray, is then applied. Then the models are fired away in a kiln at a lower temperature. Afterwards, the model is a bit more smooth and ready for glazing.
Step 6. The glaze spray is applied, and the models are again fired in the kiln. After this process, the model becomes shiny and smooth.
Note to buyers:
All cups are available for purchase here:
The cups are espresso size; about 65mm tall.
They might look quite small.
The images in this page are computer generated, not photos from the real cups.
3DPrinting in Ceramics is a novel and experimental production process, the resulting objects might loose detail and look different than the above images.
Production: Orders, payment, producing-printing, quality control, delivery & customer service processes is handled by Shapeways.com, a 3rd Party Company not related to Cunicode.
Pricing: 3DPrinting in Ceramics is quite expensive, that’s why the cups are very small, to keep the price down. Cunicode gets $5 per cup sold only, the rest goes to the producing company,
Further development
Thanks for the interest and support,
special thanks to ignant.de / Swiss-Miss / Neatorama / BoingBoing & others fantastic sites for writing about the project.
I'd like to 3DPrint all the cups and prepare an exhibition.
Please contribute to make it happen.
Thanks.